

When winter has faded and all of the seed catalogs have been leafed through, I am itching to get the spring vegetable garden started. There is a little thrill in removing the remnants of the winter vegetable garden, then beginning again with new seed varieties and old favorites.
Late February and into March are usually ideal times to start prepping the vegetable garden for spring and summer plantings. But this year Seattle was so cool and wet well into April that it was hard for me to be motivated. Wet weather brings wet, hard-to-work soil, and for that reason alone, raised beds are worth considering. I have modeled my vegetable garden on Peter Chan’s raised bed system, so even in very wet winters and springs, the soil stays relatively loose, doesn’t get waterlogged, and warms more quickly.

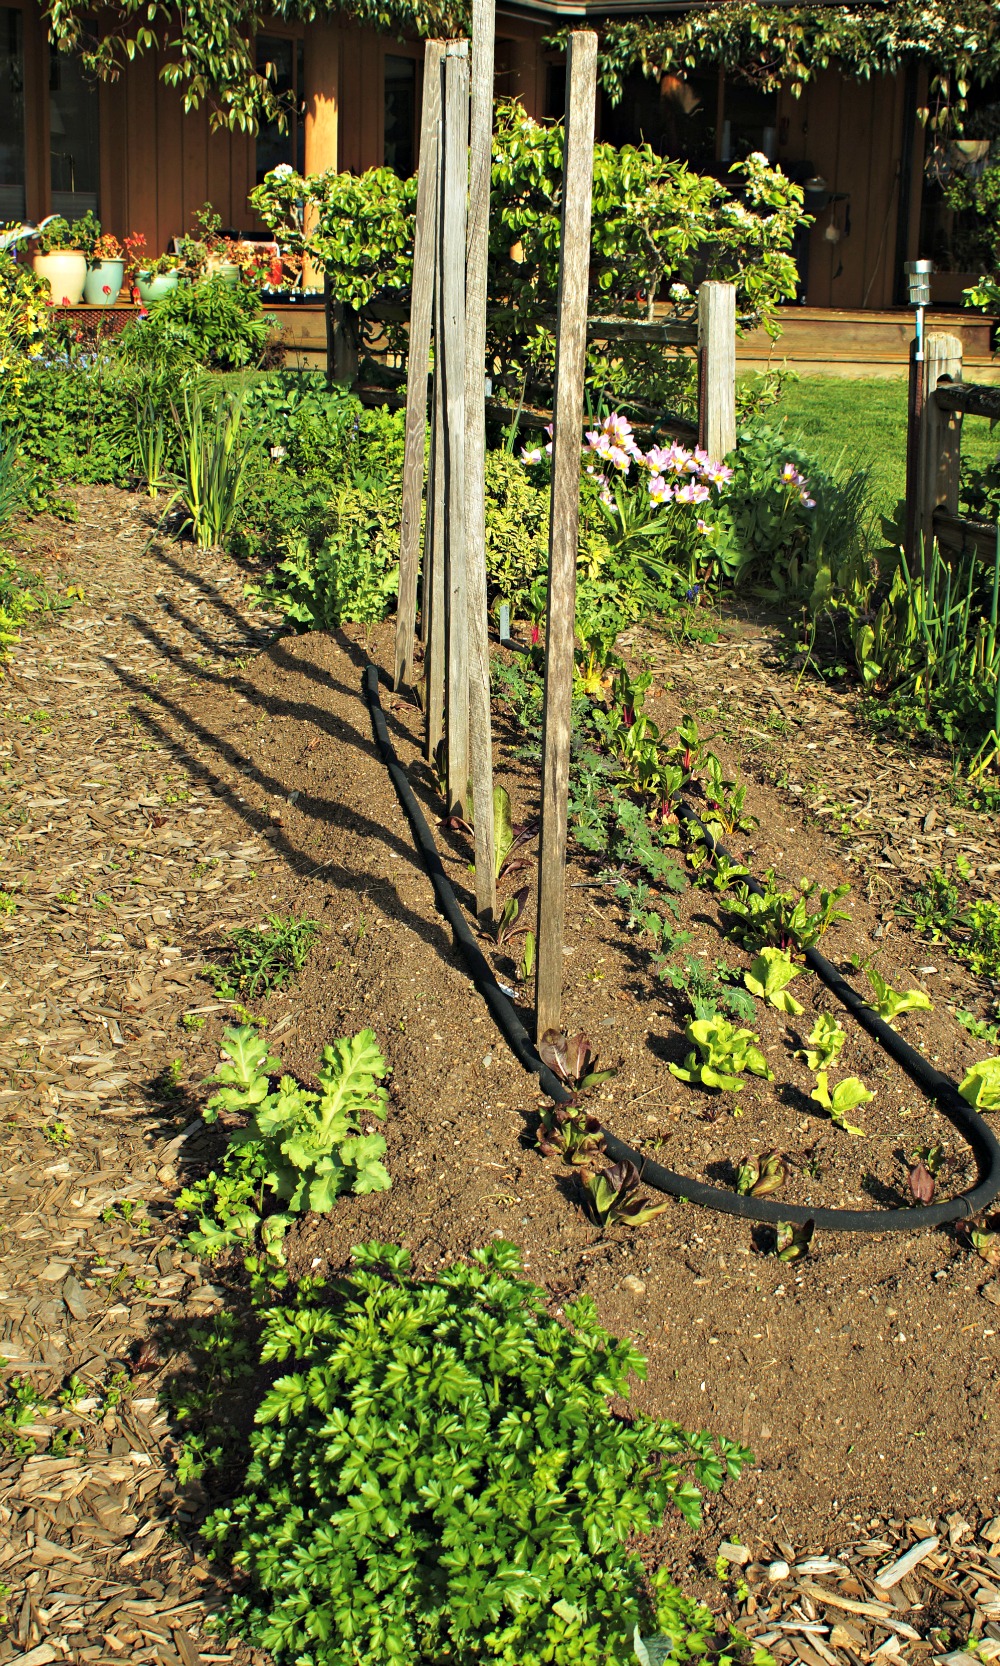
The author's raised bed vegetable garden.
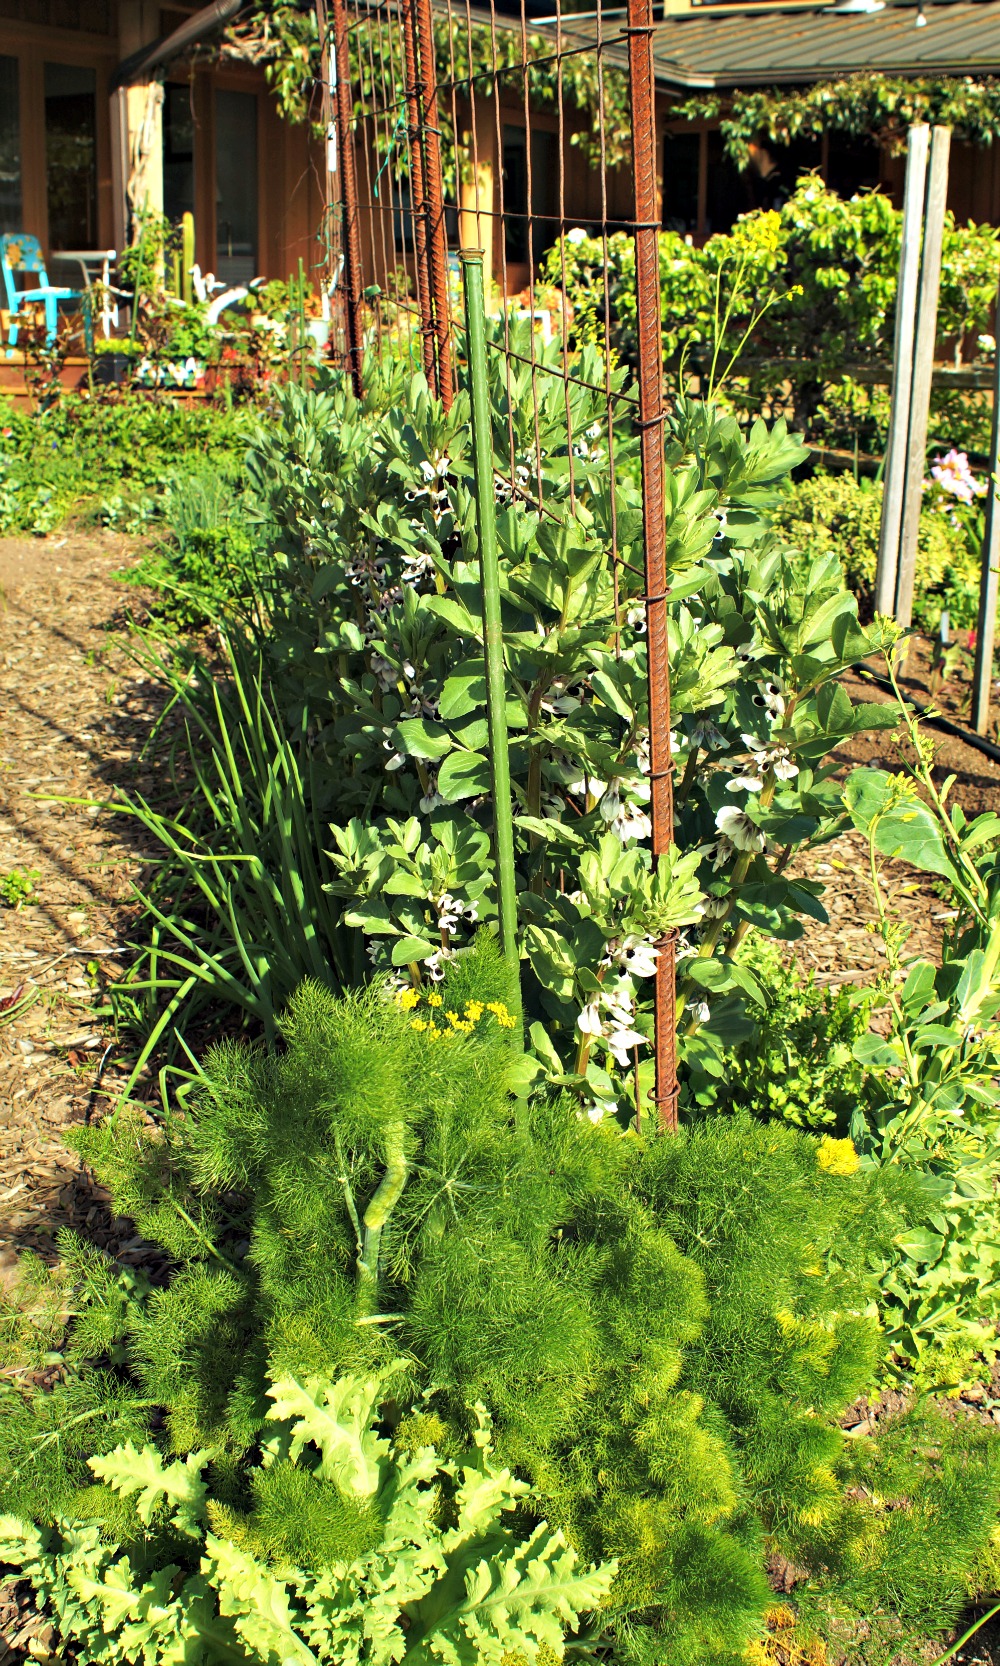
Chan’s system recommends beds to be 3-4’ wide and up to 20’ long. In my vegetable garden, the beds are 24-30” wide and 6-18’ in length. My garden space is overall 22’ x 24’ and broken up into different sized beds to make for easy access of a wheelbarrow.
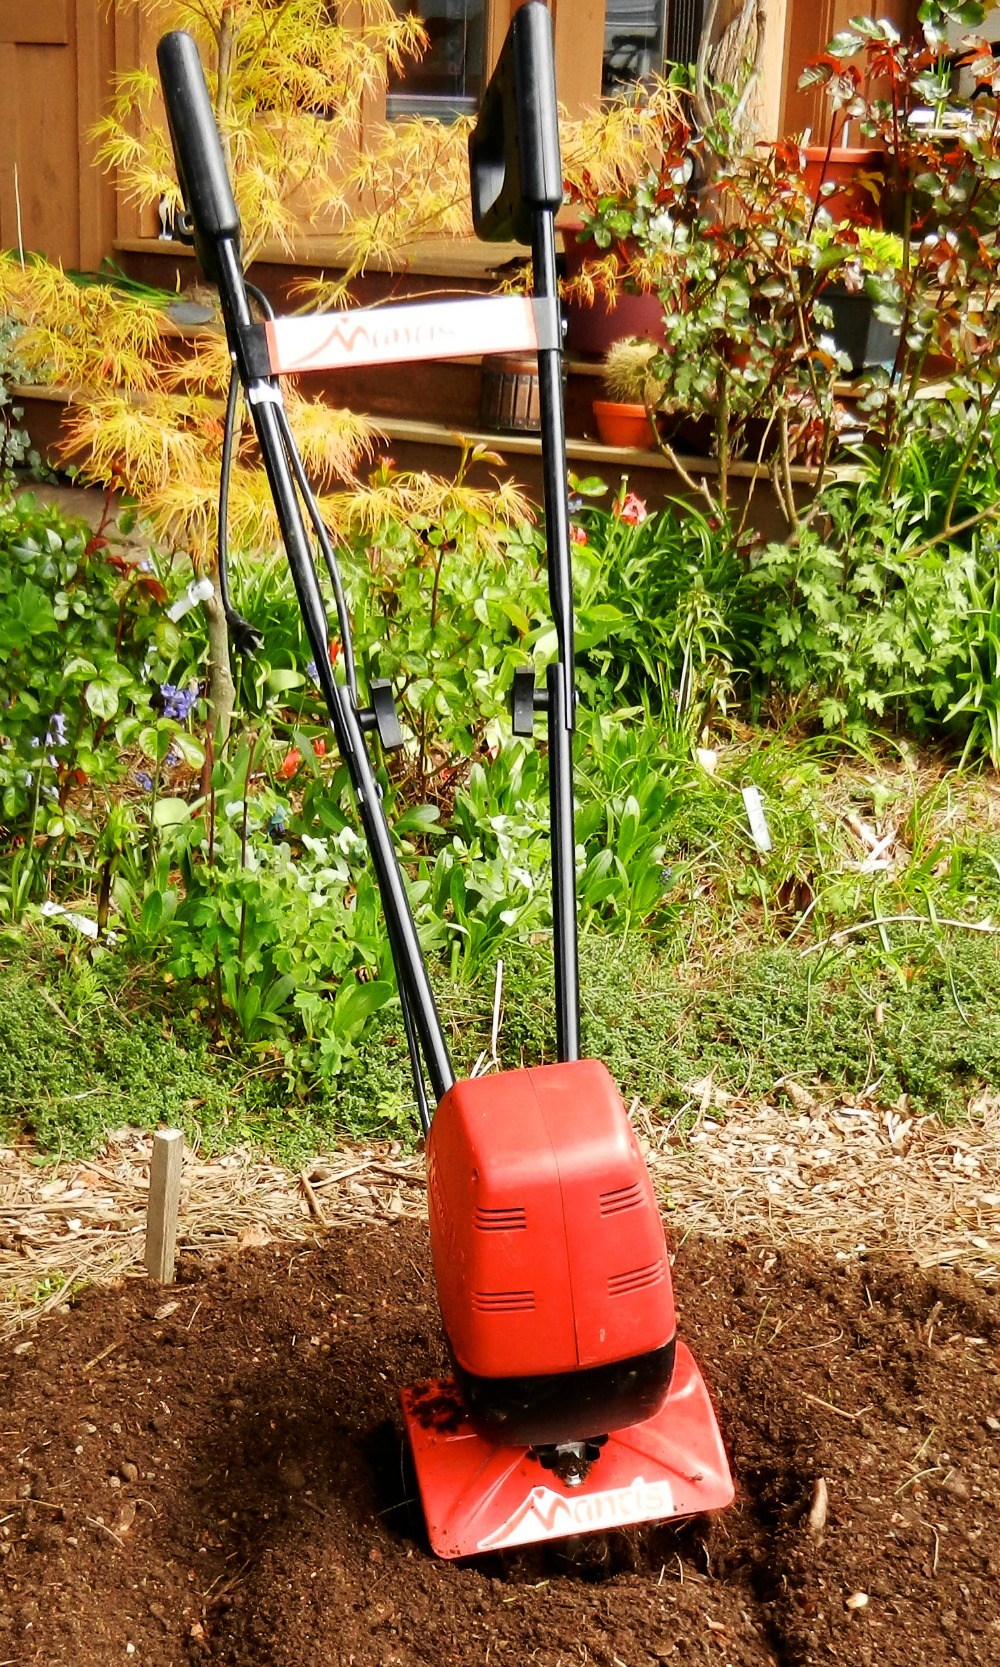
The initial creation of the beds is the most time-consuming. The beds are double dug, amended and raked into shape—a sort of flattened, wide pyramid shape, about 10-15” high. The paths between the beds are 18” wide and covered with wood play chips. Because the beds are never walked on, in subsequent seasons it will be easy to dig in amendments by hand and shovel, or with my best friend, the Mantis electric tiller. The Mantis is a real back-saver, and remarkably quiet.
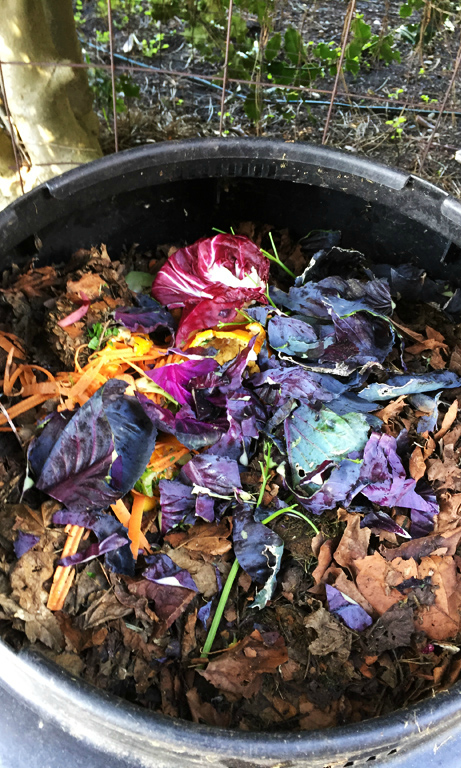

I have five black compost bins that provide enough compost from spring to fall. I compost all vegetable kitchen waste and garden cuttings, and layer with fall leaves; I try never to add seedy weeds. I am a passive composter and never stir or turn the contents, preferring instead to let centipedes, millipedes, worms, sow bugs, and other organisms to do the work for me. Years ago, I used to screen the compost before adding it to the vegetable beds. After a few seasons, I concluded that it was too much work—all but the hardest stems and largest leaves would continue to break down in the soil, and nothing was too large to till or spade in.
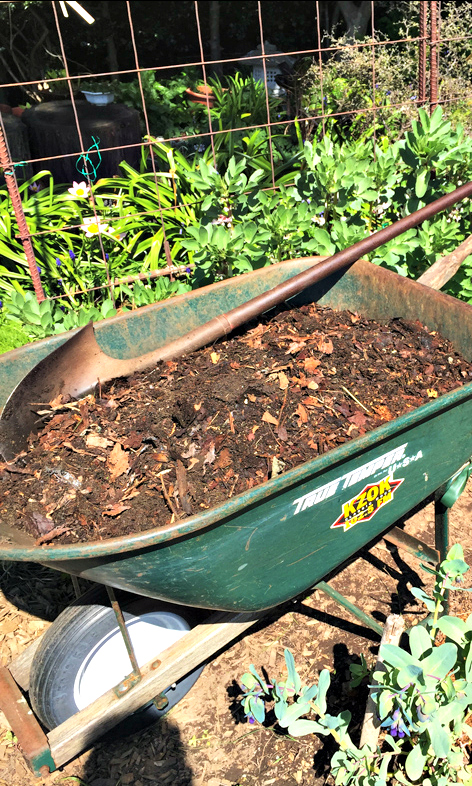
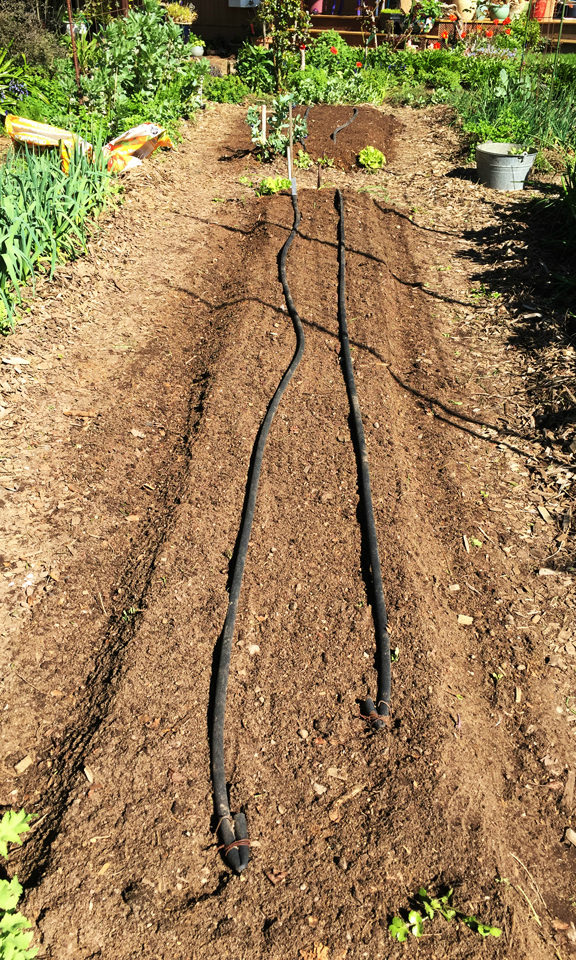
Compost, chicken manure and a little all-purpose organic vegetable fertilizer are layered onto each bed ready to be prepped. A large wheelbarrow load of compost and one or two 30-pound bags of composted chicken manure is enough for one 12-18’ bed. Then all is tilled in and raked into shape, soaker hoses are laid atop each bed, and the beds are ready to plant.
A big challenge in a small vegetable garden is being mindful of crop rotation; if you don't have a great memory of what was planted where and when, record-keeping comes in handy here. I aim to be flexible except for garlic, members of the brassica family, peppers, eggplant, and root crops, all heavy feeders that benefit from annual rotation, at least in my experience. With the beds now ready to plant, the exciting task of planning and planting is underway!
Gretchen Flickinger is a West Seattle gardener and artist who inherited her love of plants and growing food from her grandmother, Clara Teeters, an inveterate gardener and native plant collector. The Gustatory Garden explores Gretchen's joy of growing what she loves to eat!