

As a child, the only peas I wanted to eat were the ones growing in my grandmother’s garden—straight off the vines. This was a tricky proposition for me, my siblings and cousins; we had to sneak quietly into the pea patch and hope we would not be seen by our "mean" grandmother who, if we were spotted, would yell, “You kids get out of those peas!!!” Looking back, I realize she was simply trying to grow enough for fresh eating and freezing. It is hard to understand that when you are eight years old. Now, as an adult, I appreciate the work that she put into growing English peas; the per pound yield was a precious commodity.

I prefer to grow snap and sugar peas since every part is edible and for me, the reward is greater. And, there is no shelling! There is still plenty of time to sow peas for June/July harvest as peas are a cool weather crop. I have even planted peas in early December and covered the planted seed with a blanket of fall leaves. In a mild winter, they will begin sprouting in January but are most reliably planted in late February. I planted this year's crop on March 10th. Peas may also be planted in mid-August for a fall crop, maturing into October and early November.

Many shelling, sugar and snap varieties are classed as "bush" or self-supporting, growing only 24”-30” tall; however, I find these vines almost always need support or they fall over on themselves or other crops. I like chicken wire as a good support (it is reusable) if you are planting in rows, or perhaps some other type of fencing support will work for you. Tall types need trellising of up to six feet. The varieties I planted this year are Oregon Sugar II (pod type, bush), Sugar Daddy (snap pea, bush) and Golden Sweet (snap pea, 6ft.)
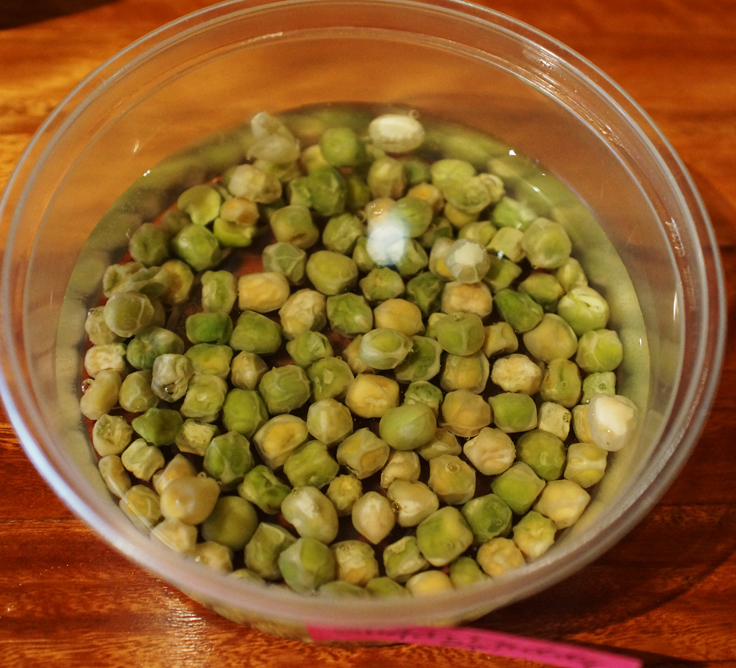
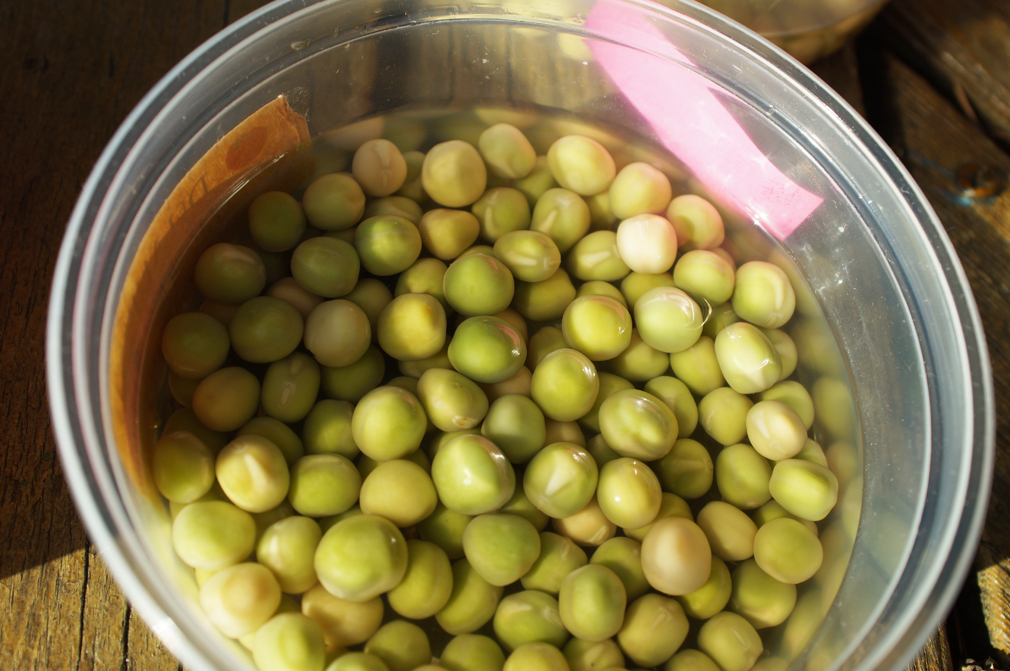
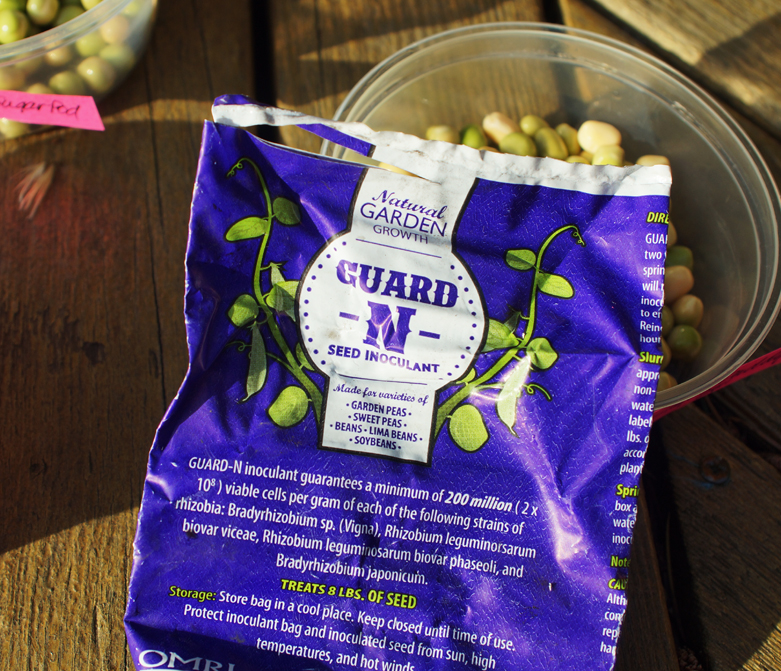
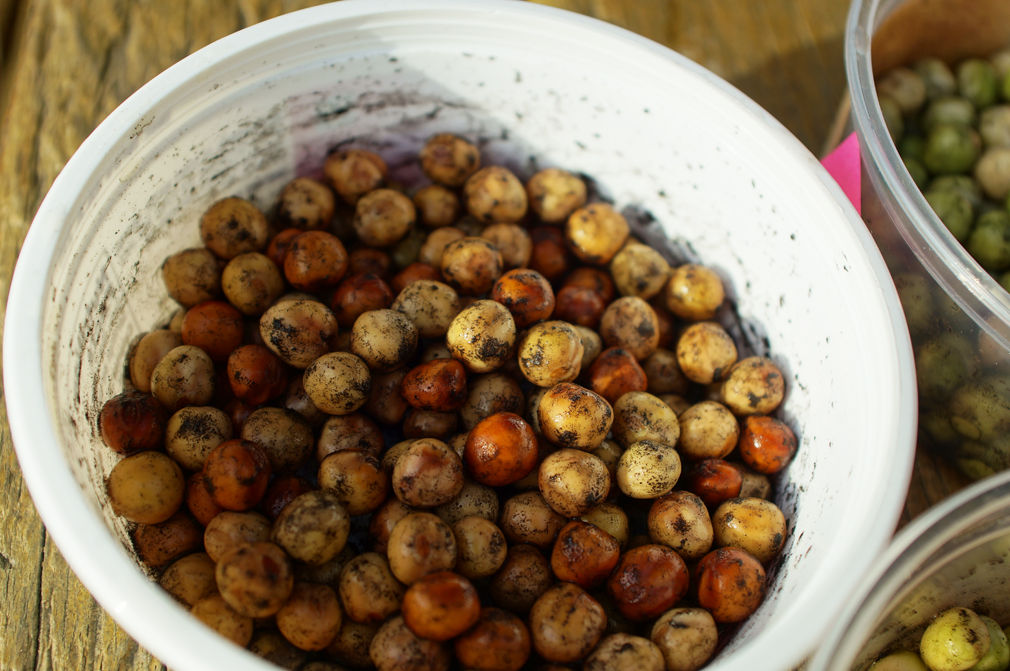
Prepare your planting area with some compost and have the supports in place. Give peas a head start by pre-soaking the seed the night before planting in just enough water to cover. The peas will plump up and absorb most of the water. After soaking, drain any excess water from the seed. Give the seed an additional boost by coating the seeds with a legume inoculant to improve the plant’s ability to convert nitrogen from the atmosphere into a usable form; in essence, the plants are able to create their own fertilizer, increasing yields without additional fertilizer (and improving the soil at the same time).
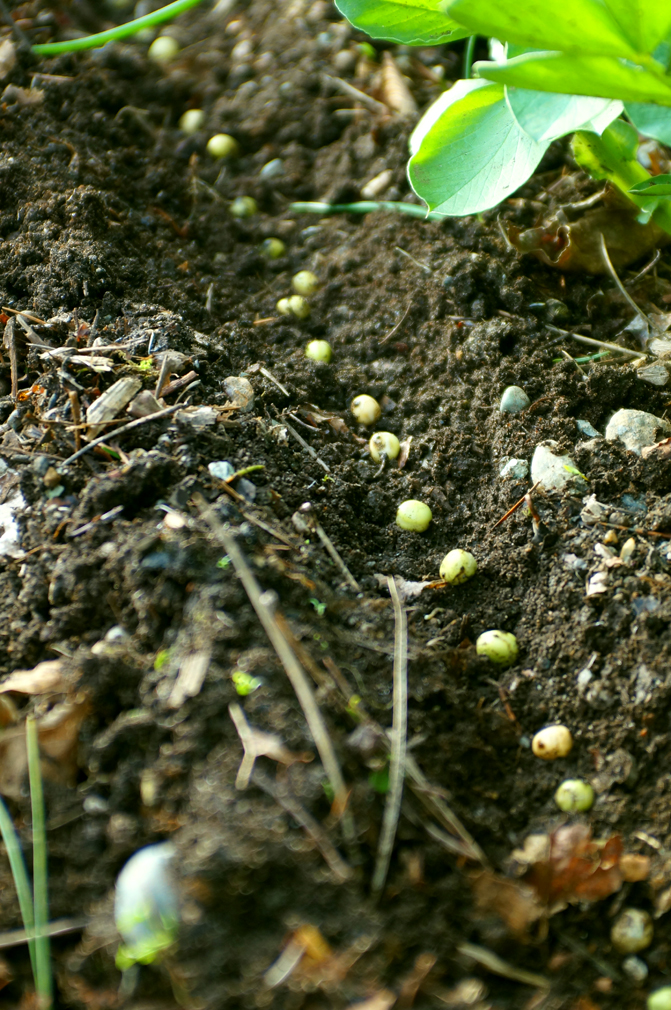
It's OK to place seeds fairly close.
I tend to plant pea seed much closer together than package recommendations as I have limited garden space and try to coax the most I can out of available space. I plant fava beans in the fall to precede my tomato plants, so I often intercrop the peas to share the same trellis space with no ill effect. Plant the seed 1”-2” deep and cover, then water to settle the soil around the seed. In about two weeks you should see pea shoots peeking from the soil. If the pea shoots seem too crowded, thin by harvesting the excess shoots when they are 2”-3”, for use in salads or stir fry.
Now, all you have to do exercise a bit of patience—June is just around the corner!
Gretchen Flickinger is a West Seattle gardener and artist who inherited her love of plants and growing food from her grandmother, Clara Teeters, an inveterate gardener and native plant collector. The Gustatory Garden explores Gretchen's joy of growing what she loves to eat!